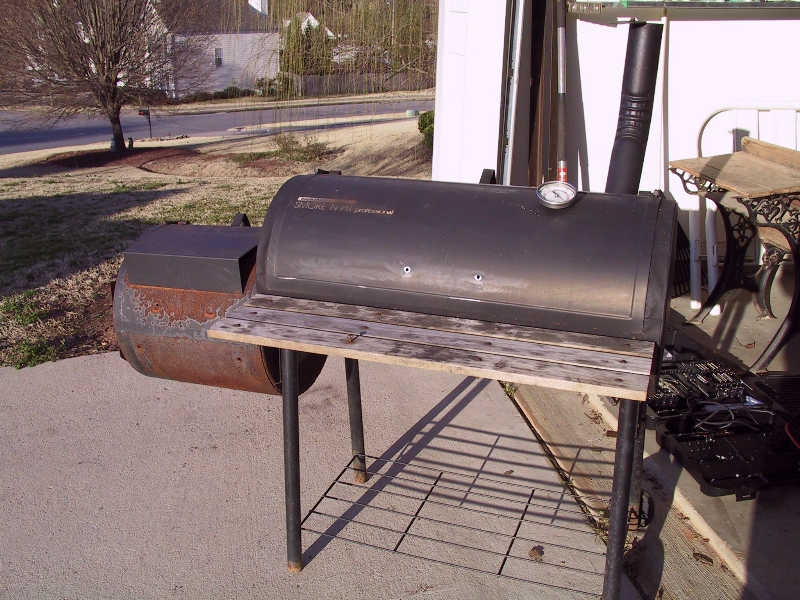

A few years ago my friend gave me his used Brinkman Smoke`N Pit Pitmaster Professional Charcoal/Wood Smoker & Grill. It had some rust but it wasn't in bad shape. I washed it and used it for one season. I got married and moved into an apartment, where there was no place to store a smoker of this size. It sat under my in-laws deck for close to 2 years before I finally got it back at the new house this year. It was in pretty bad shape:
Tools Needed:
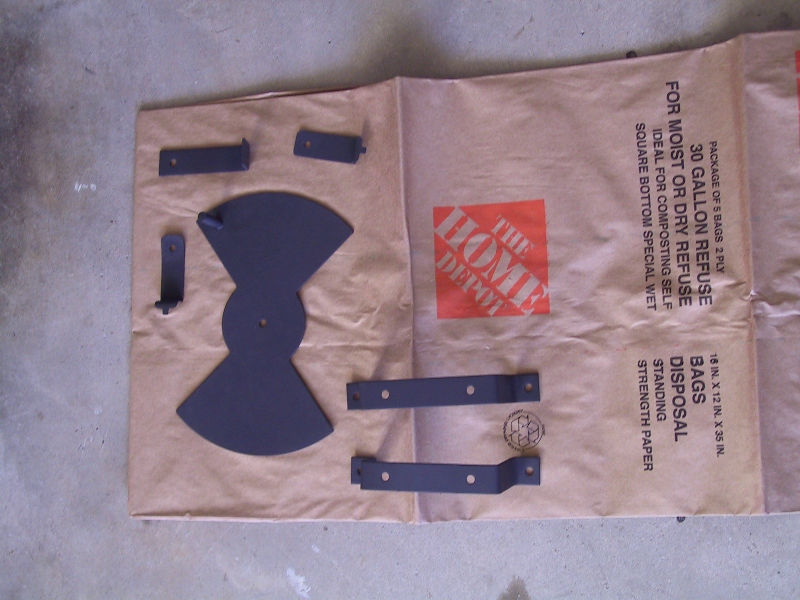
Supplies Needed:
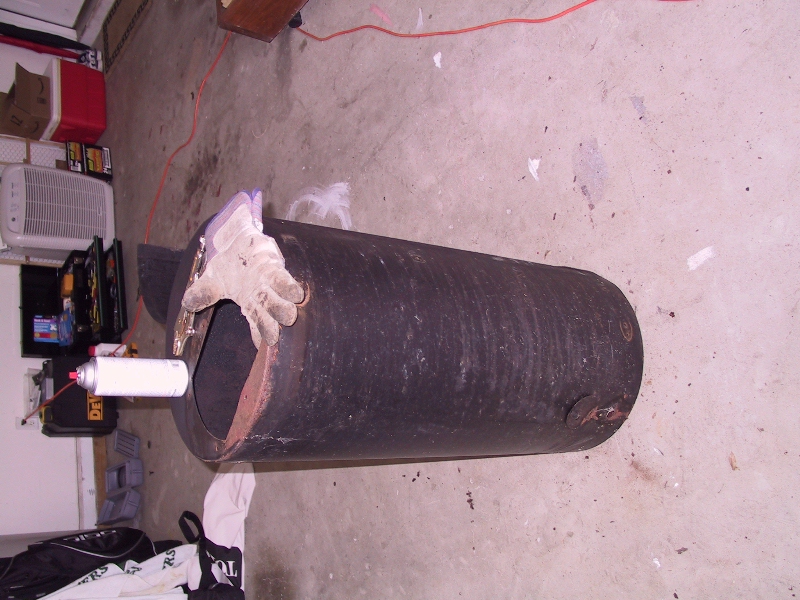
I began by taking this beast apart. I removed every bolt, every nut, every screw, and every piece of wood. When I was finished I had a nice pile of rusted and corroded hardware. I ended up having to cut 3 or 4 bolts with a Dremel due to the fact that they were so rusted I couldn't remove them manually.
I started with all of the smaller parts and left the grill and firebox for later. I used the wire brush to remove all of the dirt and flakey rust from each part. Then I used the orbital sander to sand each individual piece. I only got the dirt and rust, and scuffed up the pieces, rather than remove all of the paint down to the iron. That would take far too long and too much work.
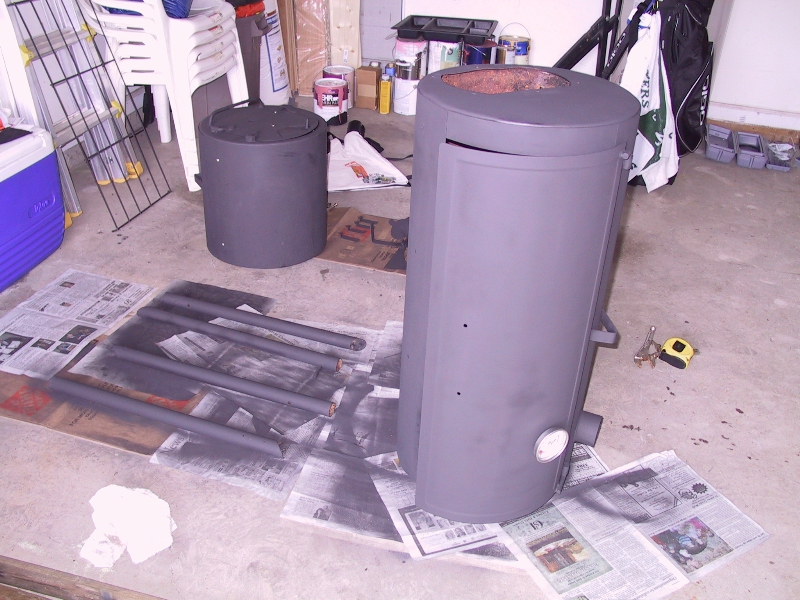
After each piece is brushed, and sanded, I washed them each with soap and water and let them dry thoroughly. After they were dry I began spray painting each one. The more light coats the better. I did about 3 coats per piece and let them dry completely before applying the next coat.

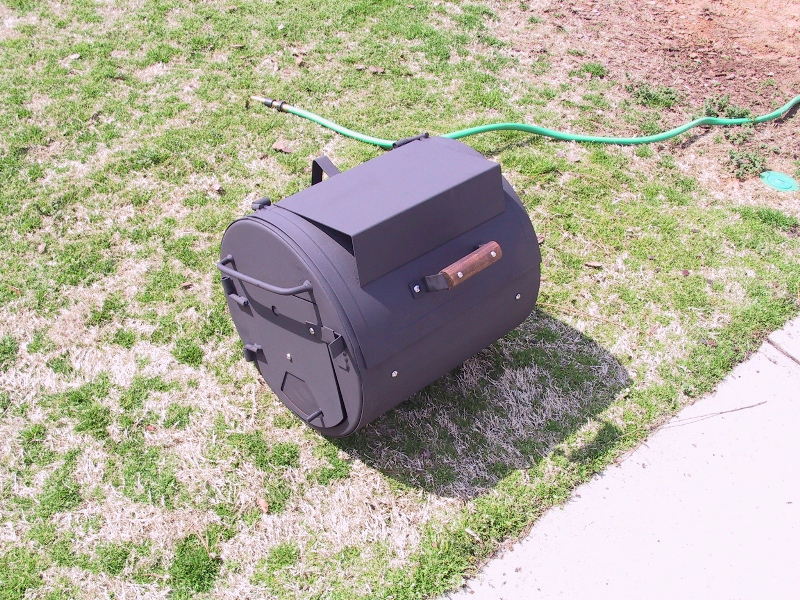
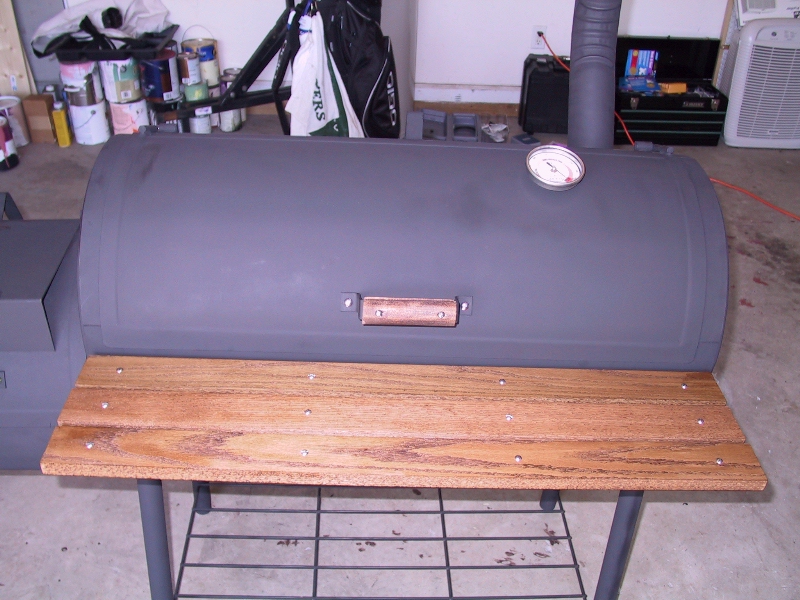
Here are all of the pieces after brushing, sanding, washing and painting:

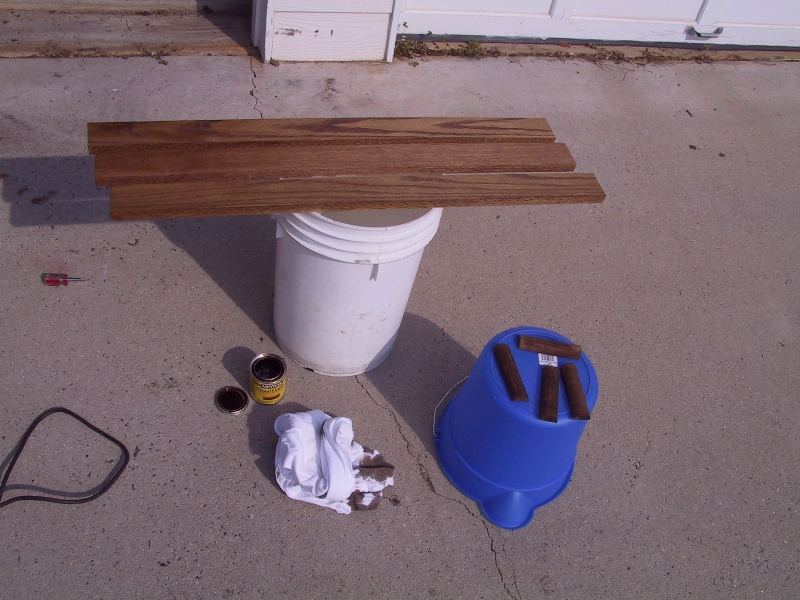
The wooden handles were a bit tricky, especially since I do not have a table saw. I bought a wooden dowel that matched the old pieces width, etc. I cut it down the middle with a circular saw and a lot of clamps (not recommended, use a table saw). Then I just simply cut them the correct size for the handles.
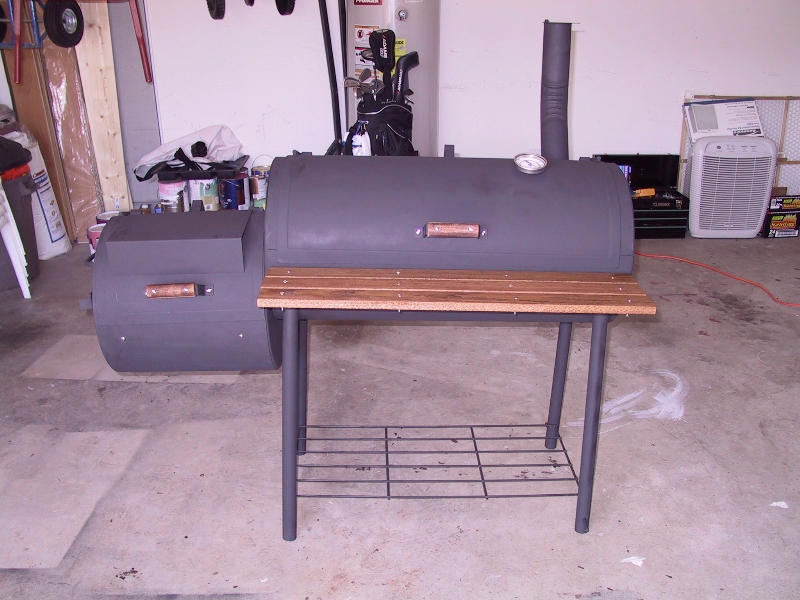
What to do with the inside. Coat the inside with cooking oil. Light a good hardwood fire in the firebox at a pretty hot temperature, 500 degrees or so for a couple of hours. This will cook and season the inside of the grill, as well as cure the paint on the outside. Overall this probably cost me $40 in parts, and around 10 hours of labor. It beats spending another $350 every few years. I hope you found this useful, email me with any questions you may have at scott at scottmoore.net.